Dress

Buffalo Plaid Dress [Simplicity 8090/Vogue 9237 hack]

October 02, 2017

This dress came together from a number of different sources of inspiration. Current trends and garments/patterns that I've seen recently merged into one hack of a dress.
Inspiration, clockwise from top left: Jack Stitch Handmade's Vogue 9237,@nikidoesstuff_'s awesome shirt with tied sleevesErica's S8455 with tied sleeves and necklineCaroline's Marthe

I saw Erica's blouse post just as I was finishing up this dress. It was a total confidence boost that my design elements weren't off-track. Erica is always on top of the trends.

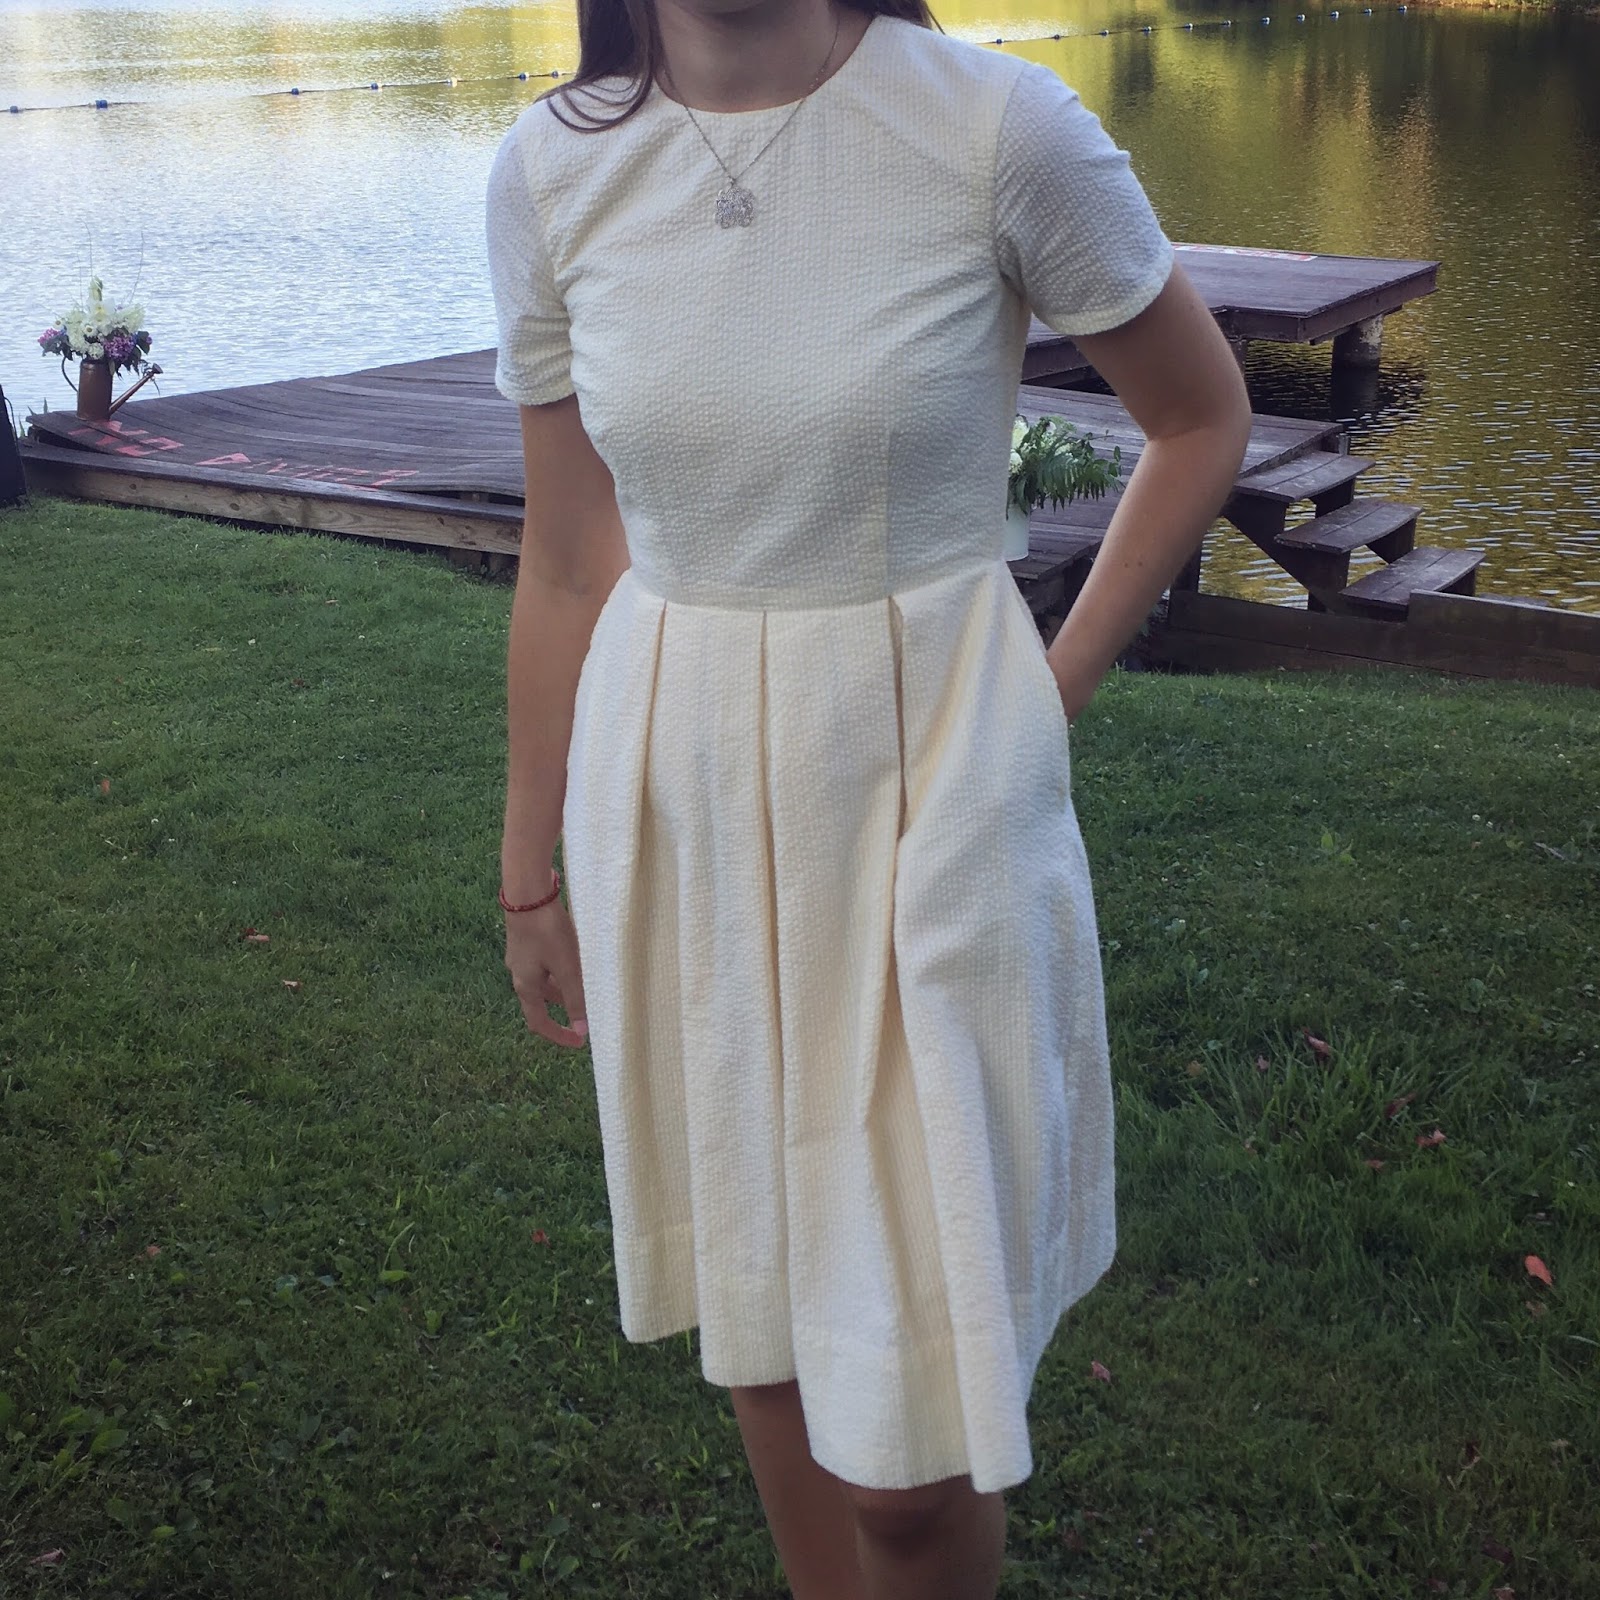
Jackie advised me that the Vogue pattern is very hack-able. I mean, it's an A-line dress with a butt ruffle. I couldn't justify spending $5 on a Very Easy Vogue pattern for that. And yes, I am calling that design feature on the back the "butt ruffle"
I started off with the Simplicity 8090 blouse pattern. It was the best pattern I could find in the stash with the right silhouette and sleeves. The envelope features a version in a large gingham which confirmed that the buffalo plaid would work with the style. Also, I've made it twice and I knew that the fit was okay. However, I did adjust the armscye and sleevehead based on fitting work I did for my yellow seersucker dress. And I extended the sleeve to bracelet-ish length. I also pivoted the dart up several inches. And of course I cut the back on the fold. No need to match more plaid than necessary.

From there, I extended the front to dress length. And I slightly increased the width of both front and back below the dart to make it even more trapeze-y.

The Buffalo Plaid: Surprising nobody, I didn't buy this fabric for this project but pulled it from the stash. Mom bought this a while ago for baby blankets, but she was graciously willing to sacrifice it since she already has a stock of baby quilts on hand. I had about 2 1/2 yards but it's only 45" wide and despite my best efforts there was no way to fit all my pieces on with the selvedges folded together. Instead I cut it all on the cross-grain. Crossing my fingers that I don't regret that later after multiple washes and wearings. I was able to cut the hems of the sleeves and butt ruffle on the selvedge edges, so I didn't need to finish them at all!

I don't think I've ever cut and matched a plaid like this before. I've done some gingham on a small scale, but matching this plaid was daunting. It sat on the cutting table for two weeks before I was brave enough to go at it with the scissors. I was surprised by how not-horrible the cutting process was. I cut the fabric one layer at a time, making sure to align my plaids before cutting the second layer. It turned out great, and my plaid-matching is better than I could have hoped for.


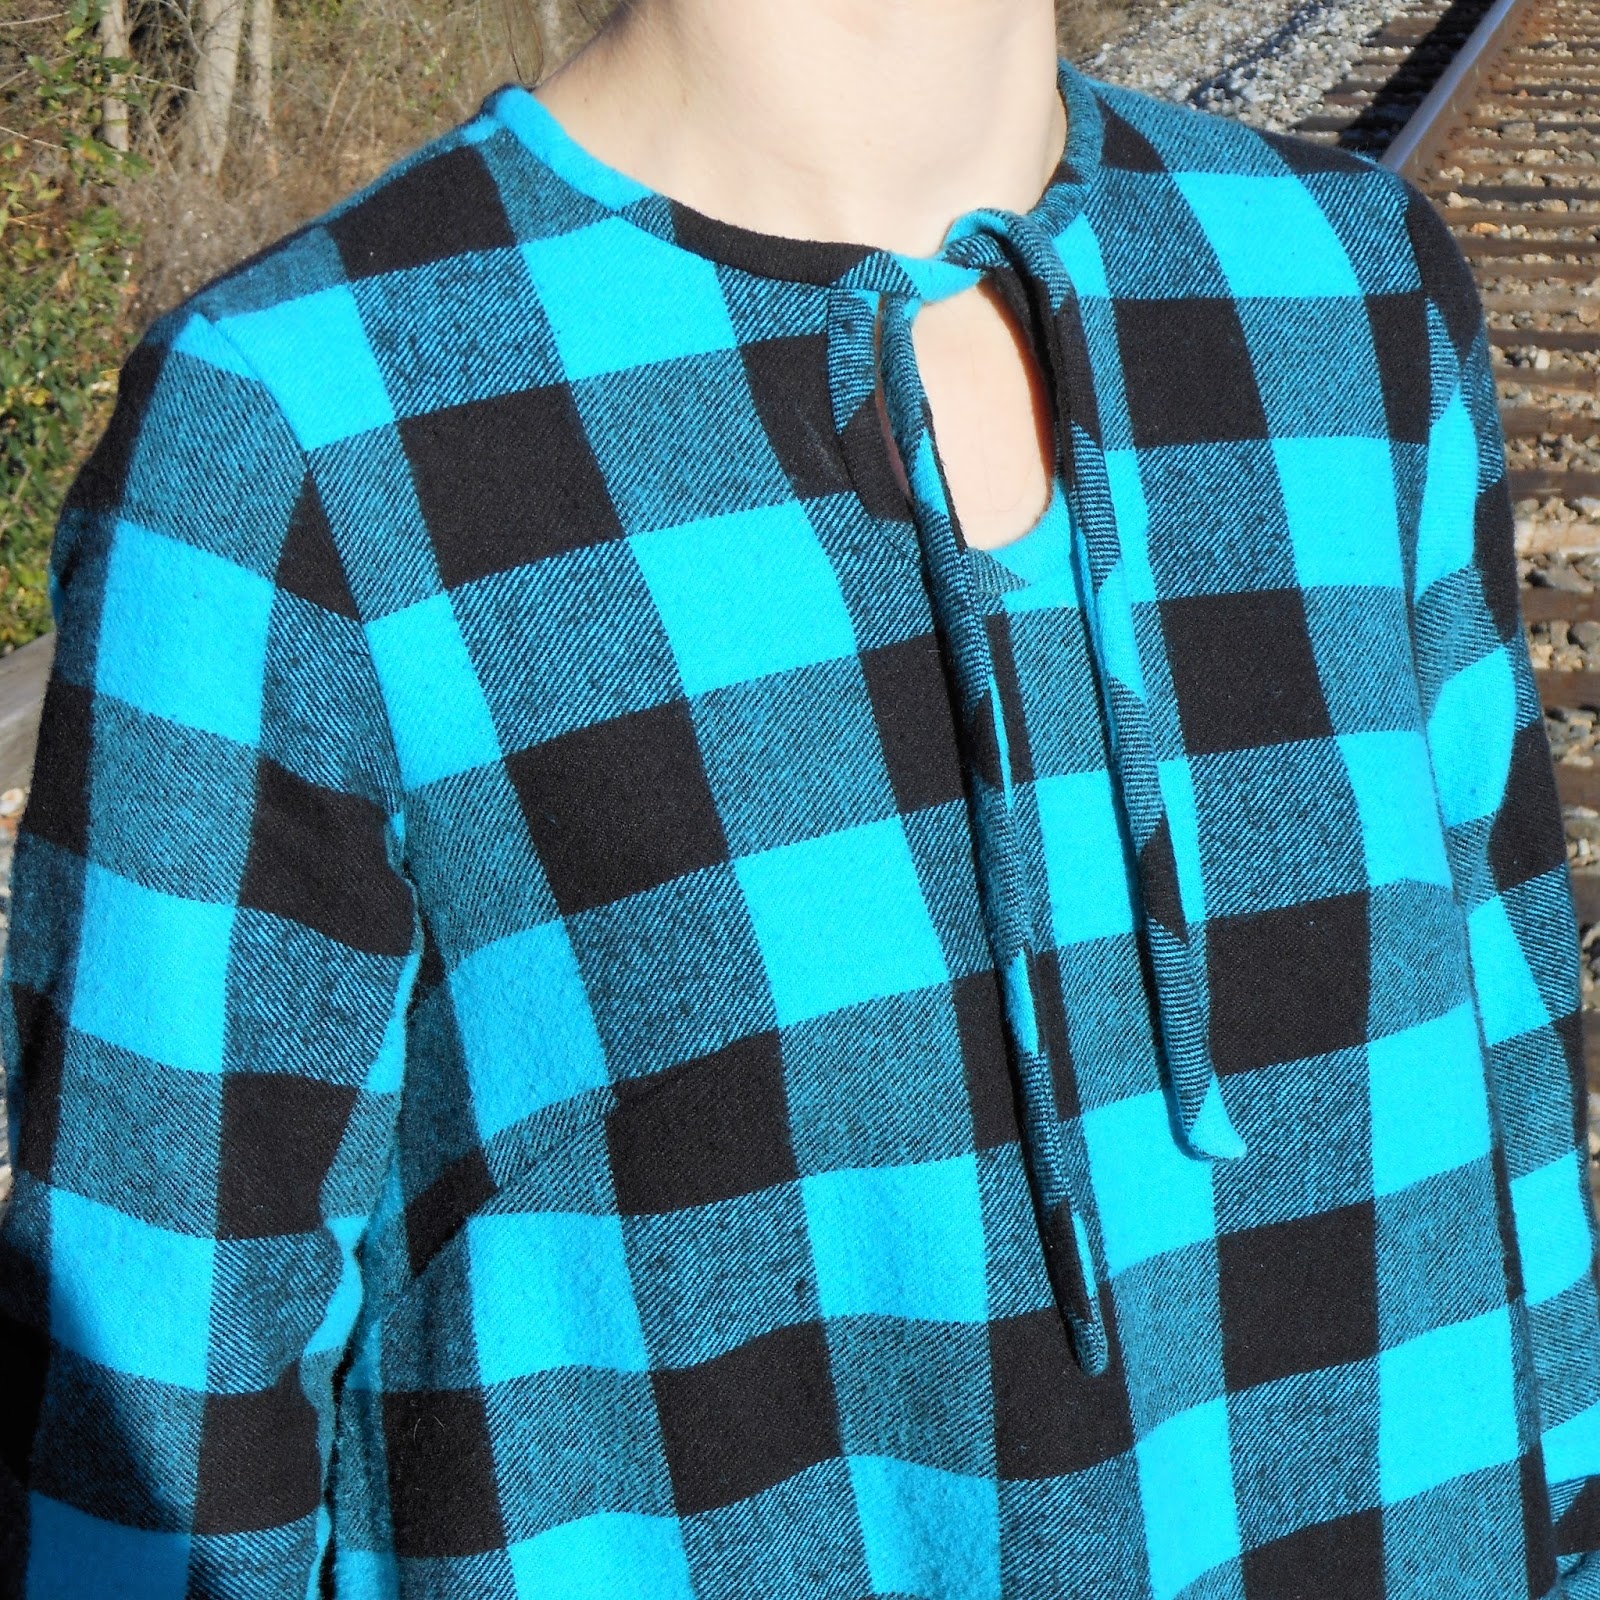
Keyhole neckline: I estimated the depth of the keyhole based on how wide I needed the neckline to be to fit over my head. I had sketched a line on my pattern tissue and ended up cutting it narrower, but I think I could have gone even narrower. The rest of the neckline is cut from 8090, with the binding stitched on top of the blouse's stitching line. All of the neckline is bound in 1 1/2" strips cut on the bias.


Sleeve ties: The sleeve ties are 1" wide finished, bias-cut. They are inserted into the sleeve seam, about 4" from the hem.

Butt Ruffle: The butt ruffle is about 60" long and 10" wide. That was the longest I could make it after cutting the front/back pieces from my limited yardage. The ruffle is just a rectangle, but since I cut a curve on the back I have a very slight mullet effect. Evenly distributing gathers is one of my least favorite sewing tasks. Soooo many pins.


Ultimately, I made a very comfortable, sorta trendy dress. I'm not usually one to hop on the trend-wagon quickly, but this works for me! Is it a better use for this fabric than a baby blanket? The jury is out. I have certainly reduced the cuteness potential.


Follow my blog with Bloglovin

PS: This totally counts as a #SewMyStashSeptember project. I bought nothing at all! Fabric, pattern, and all notions were from the stash! And I just barely finished it before the end of the month.

Dress

Autumnal dressing- Simplicity 1755

September 22, 2017


Welcome to Fall in the northern hemispheres! It's feeling more like summer around here, as we're back to 80 degree days. But the leaves are changing colors, so it's a perfect time to share one of my favorite autumn dresses. I think of it as an "autumn dress" both because of the color palette and the longer hemline and sleeves to ease into the cooler months. The design and fabric choice is also perfect to bridge the business casual/business professional dresscodes I often flip between at work. One of my bosses said that the plaid looked just like one of his favorite suits!

This dress was finished in the Spring of 2015. I wasn't sewing much at the time, so this is a mommy-made garment. Mom and I had a pretty sweet deal at that time. I picked out the fabrics and patterns, provided encouragement, and presented myself for fittings, and she did all the sewing and cutting and finishing. She wasn't too happy that I made her put an invisible zipper in this, but she did a great job!


The pattern is the now discontinued Leann Marshall for Simplicity 1755 . The purchase of the pattern was largely inspired by Dixie DIY. I totally copied (or instructed Mom to copy) her idea to cut the front on the fold. What a relief to avoid matching the plaid.

A few construction notes:
  • The bodice is lined, but not the skirt. I tend to wear a full length slip with this dress. 
  • We skipped the waistband/belt/bow bit. Aside from the waistband riding lower than I like to have my waistline, I thought a bow would be too twee for workwear. I always wear it with this thin leather belt. 
  • The plaid is a suiting fabric from Field's Fabrics. I can't remember the fiber content, but I think it has some wool in it. The eggplant for the sleeves and collar is a wool suiting from The French Seam. 
  • Those pockets hidden inside the pleats are fantastic. We enlarged them a little bit so I can easily fit my phone. 

Fitting notes: 
  • As usual, we cut a 10 in the bodice and a 12 at the hip. Pretty standard Big 4 sizing for me. 
  • We also raised the waistline (1/2 inch maybe) and took in the seam at the top of the sleeve to raise the entire bodice (About 1/4 inch). 
  • Mom would like to point out that the raglan sleeve was an unexpected challenge for fitting. We both have more experience with traditional set-in sleeves, so we had to do some research on how to adjust the fit of the raglan. 

Overall, I'm very happy with this dress. The fabric choice emphasizes the professional appearance of the collar and the silhouette is very classic, but the raglan sleeve and pockets jazz it up. The muted colors look much nicer, in my opinion, than the brights used on the pattern envelope. And a proper suiting fabric elevates this over some versions I've seen made with quilting cottons. We made up another version in a navy blue suiting that I'll get around to sharing someday.

Burda

Yellow Seersucker Dress

August 20, 2017


I put this dress together for a July wedding. It had been a while since I had a new dress, since I don't wear them often. I'm a big fan of separates. And pants. There were three things that came together to finally check this off the to-sew list. 

#1- The yellow seersucker. I picked it up at Hancock Fabric's long before they closed. I would guess probably around 2013. Back then I did not have as much time to sew, and I wasn't as confident as I am now. Not that I'm an expert, but I can insert an invisible zipper without too much yelling. I'm crazy for seersucker, so the yardage was too precious to waste on a project that I might not be able to wear.

#2- This pleated short-sleeve dress from Riva la Diva. I was digging through her archive a few months ago and it caught my eye. I quickly picked up the Burda pattern and started making a toile, but I was discouraged as I struggle to get a good fit out-of-the-envelope on most close-fitting patterns. I have a length of denim earmarked for a look-a-like, but the pattern still needed some work. 

#3- Allie Jackson live-blogged through Instagram stories her process of developing a custom fitted bodice block. Check out her summary here.  As she was going through the various modifications she was making to her block, I recognized her fitting issues in my own bodice. This gave me a good list of the areas I could look at to improve my fit. 

Ultimately, I ditched the bodice from Burda 7034 in favor of Simplicity 1419. It has waist and bust darts at the front rather than just the waist darts. The back fit well enough after grading between sizes, but I worked very hard to get the front to fit better. I did a slight forward shoulder adjustment and a couple SBA techniques. I found my favorite use for Pilot Frixion pens; marking up my traced pattern for each toile, and then erasing the parts that didn't work with my iron. I only had to trace it off the tissue once, and there weren't too many markings cluttering my pattern. There were no fewer than four toiles before I cut into the seersucker. I think in the end I may have over-fit the front of the armscye, but it's still better than anything I've sewn before. 

I had intended to still use the Burda pattern for the skirt. Not until I laid it out on my fabric did I realize that it called for 55" width fabric and my seersucker was only 45". This was a hidden blessing though, as the Burda skirt's pleats wouldn't have aligned with my Simplicity darts anyhow. Late at night, I carefully measured my bodice and calculated the width of the skirt panels for the appropriate pleat intervals. The layout of the pleats is the same as the Burda but with narrower 3" pleats. I slept on it and double-checked my math in the morning (with coffee) before cutting the fabric for the skirt. The Burda pattern did end up in the final product; I cut the pockets using the Burda pattern piece. 

I lined the bodice and skirt with a lightweight pale yellow material. A burn test concluded that it's most likely polyester. Yuck. I was concerned that the poly would take away all of the breathability of cotton seersucker, but I needn't have worried since the day of the wedding was a chilly one. The lining is pleated with the seersucker on the skirt, but the side seams and hem are loose. I machine stitched the lining at the neckline, but everywhere else was hand-sewn. I cut it close on timing, but the dress was hemmed and washed before we had to leave town for the wedding. 


Popular Posts